
 There are a number of steps that must be followed when installing an asphalt pavement. These are listed below:
1 – Deconstruction And Relocation
The first major step in asphalt installation is the removal of the existing surface. This applies to pavers, concrete, and asphalt previously laid. Heavy machinery, including forklifts, bobcats, dump trucks, and front loaders, are utilized throughout the entire removal and demolition process. Following the demolition phase, the site must be cleared of debris.
2 – Grinding And Sloping
Since we are now starting from scratch, the surface is then prepared to facilitate water drainage. The purpose of grading surfaces is to ensure that water drains properly. If you didn’t already know, proper drainage is crucial for asphalt, as improper drainage causes heaving, cracking, and potholes.
3 – Establishing The Sub Base
The sub base is essential because it provides a very stable base for your new asphalt. Subbases are merely a frost barrier that reduces damage caused by freezing and thawing in the winter. The thickness, stability, and compaction must be measured precisely during the installation phase, as they are essential to the process. When the sub base is not properly compacted, the asphalt surface cannot withstand many years of use.
4 – Proof Rolling, Undercutting, And Sub Base Repair
After securing, compacting, and grading the sub base, we go the extra mile to ensure that the underlying surface can withstand the addition of asphalt. During this phase, proof rolling is performed. Proof rolling involves driving a dump truck loaded with 72,000 pounds over the entire surface, row by row. This enables us to determine whether the base is properly supported; if the gravel shifts more than 1 inch when the truck rolls, the base is not properly sealed.
5 – Binder And Surface Course
After laying the sub base and repairing all soft areas, it is now time to bind everything together. The binding layer is comprised of a mixture of oil and large aggregates, which gives it durability and strength.
6 – Replace the Asphalt Surface
After the installation of the supporting structures, a new asphalt layer is applied. This provides a clean and smooth ride. In case you were unaware, surface asphalt is composed of oil, sand, and aggregates to create jet-black asphalt. If the installation goes according to plan, the finish will be clean, smooth, and aesthetically pleasing.
7 – Joints And Transitions
Unlike other installations on asphalt surfaces, this one is uncommon. In particular if they do not connect to parking lots, driveways, or roads. Therefore, contractors must find the most effective means of ensuring a seamless transition from the old to the new. Simply put, butt joints are the intersections between new and old surfaces.
These areas are given special consideration to ensure that water can run off properly. In addition, they are essential so that pedestrians and motorists do not notice the difference in surfaces.
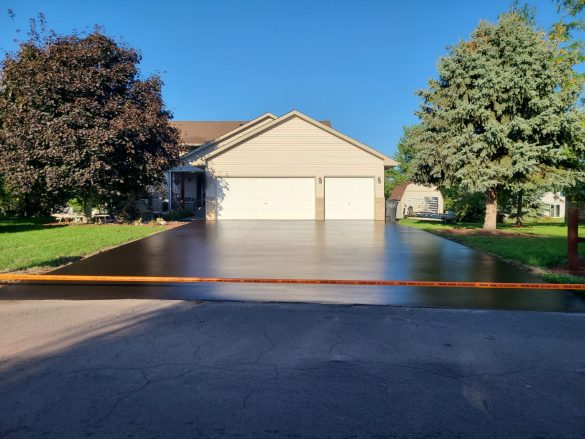
Project Completion: The Final Roll
After the butt joints and asphalt have been installed, the surface is compacted and smoothed with a roller truck. The truck leaves the surface smooth and compacted, and it removes bumps and pebbles from the freshly paved surface.