 When it comes to installing an asphalt pavement, there are several steps that we follow. These are as follows:
1 – Demolition And Removals
The first main step in the installation of asphalt is to have the existing surface removed. This goes for pavers, concrete, previously laid asphalt. The entire removal and demolition process is carried out with the use of heavy machines as well as forklifts, bobcats, dump trucks, and front loaders. After the demolition phase, the debris must be cleared from the worksite.
2 – Grinding And Sloping
Since we’ve now got a clean slate all over again, the surface is then prepared to facilitate water drainage. Surfaces are graded in an effort to ensure that the water runs off properly. If you didn’t already know, proper drainage is essential for your asphalt since poor drainage results in heaving, cracks, and potholes.
3 – Preparing The Sub Base
The sub base is important since if provides a very stable surface to support your new pavement. Sub bases are simply a frost barrier that minimizes the effects of damages caused by freezing and thawing during the winter. During the installation phase, the thickness, stability, compaction must be done precise since it is an essential part of the process. When the sub base is not compacted properly, the surface asphalt would not be able to withstand many years of use.
4 – Proof Rolling, Undercutting, And Repairing The Sub Base
After the sub base is secured, compacted and graded to suit, we go the extra mile to ensure that the underlying surface can withstand new asphalt. During this stage, we do proof rolling. Proof rolling revolves around using a dump truck filled with 72000 lbs to drive over the entire surface, each row at a time. This allows us to determine if the base is properly supported; in the event that the gravel moves more than 1 inch when the truck rolls, it simply means that the base isn’t properly sealed.
5 – Binder And Surface Course
After the sub base is laid and all soft areas are repaired, it’s now time to bind everything together. The binding layer is a mixture of oil and large aggregates that make it durable and stronger.
6 – Install New Asphalt Surface
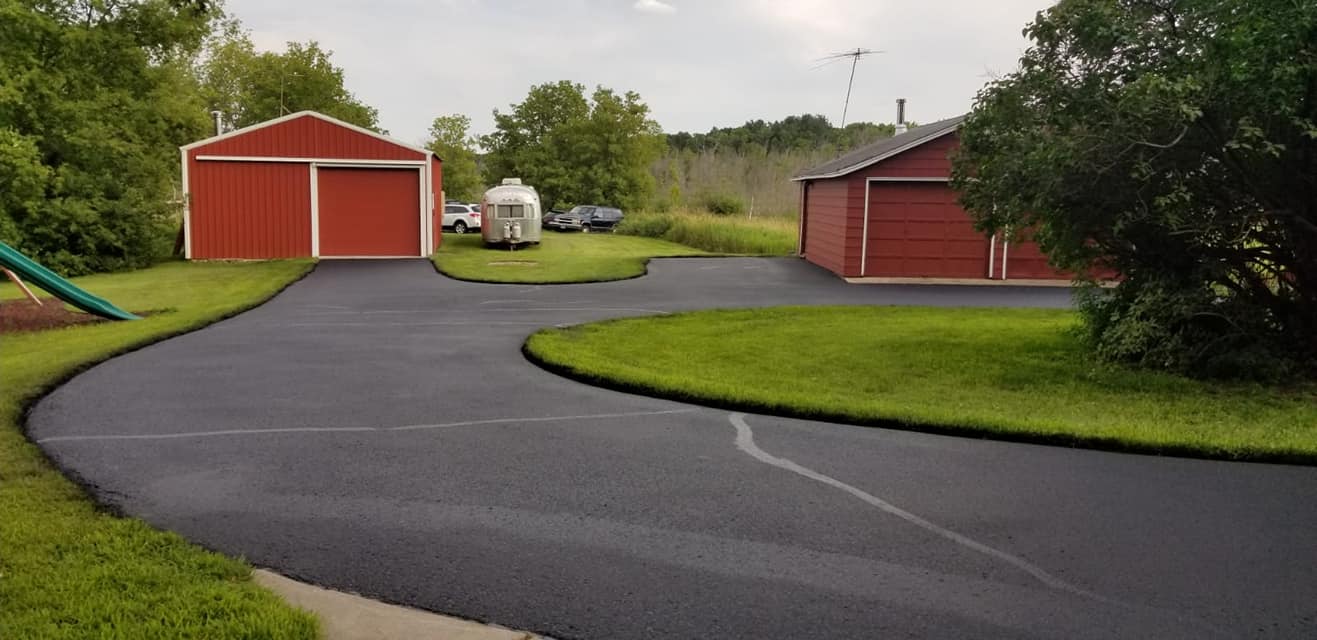
After the supporting structures are installed, a fresh layer of asphalt is laid. This provides a smooth and clean ride. If you didn’t already know, surface asphalt is made up of a combination of oil, sand, and aggregates to create jet-black asphalt. When the installation process goes according to plan, you’ll have a clean, smooth attractive finish.
7 – Butt Joints And Transitions
Unlike others, this is a rare installation on asphalt surfaces. Especially if they do not connect to parking lots, driveways, and roadways. Hence, contractors must find the best ways possible to ensure that the transition from old to new is smooth. Simply put, butt joints are the areas where both new and old surfaces meet each other.
Special attention is given to these areas to ensure that water is able to run off appropriately. Additionally, they are important so that both pedestrians and drivers, don’t notice the difference between the surfaces.
Completing The Project: The Final Roll
After the butt joints and asphalt have been laid, the surface is smoothed and compacted with the sue of a roller truck. The truck leaves the surface smooth and compacted and it removes bumps and stones that are jotting out through the newly paved surface.